Preserving
Preserving What I Grow & Make
I’m learning different ways to keep food longer — canning, dehydrating, fermenting, freezing, and storing the things I grow and make at home. I’m sharing what I try, what works, what doesn’t, and what I learn along the way.
Looking for something for your own pantry? See what I’m making for the shop.
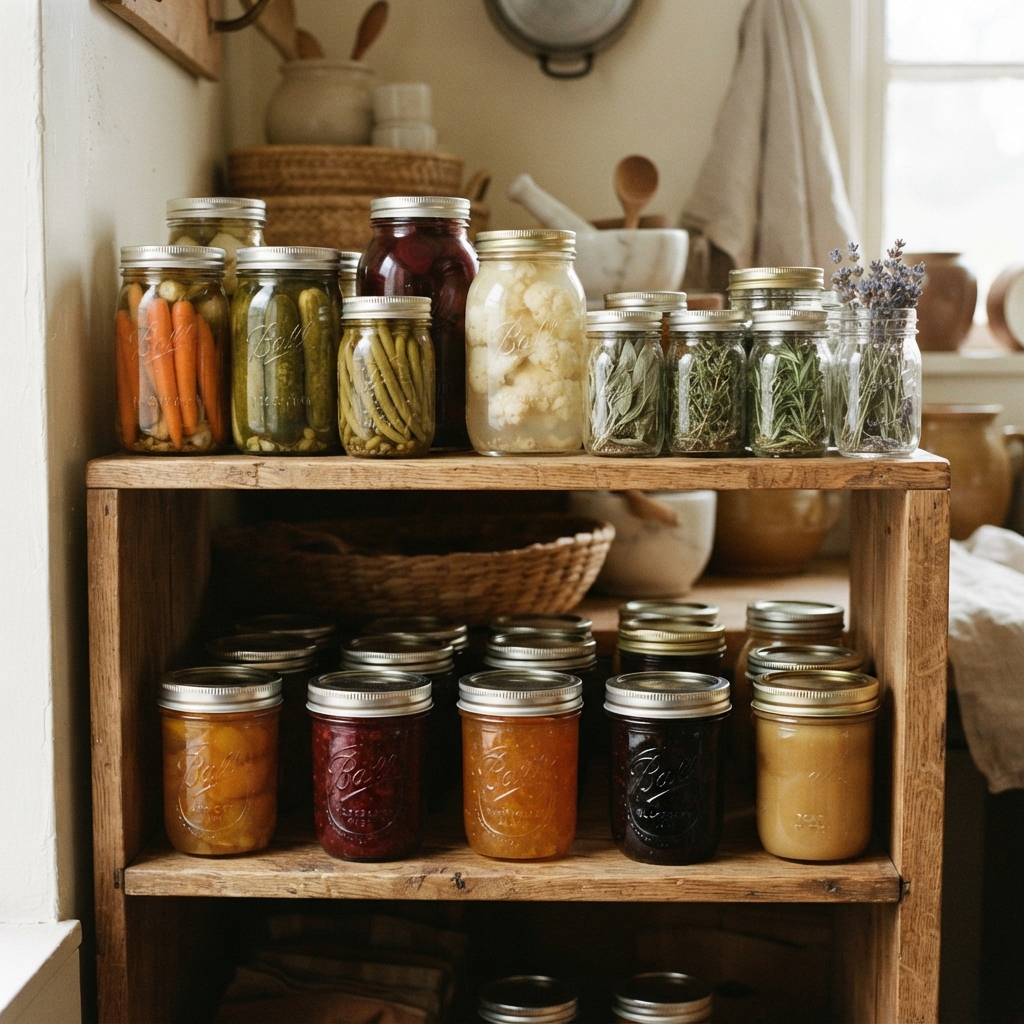
New to Preserving Food? Start Here.
I’m still learning which preservation methods make sense for different foods and which ones are actually worth the effort at home. If you’re starting from scratch too, these are the basics I’d begin with.
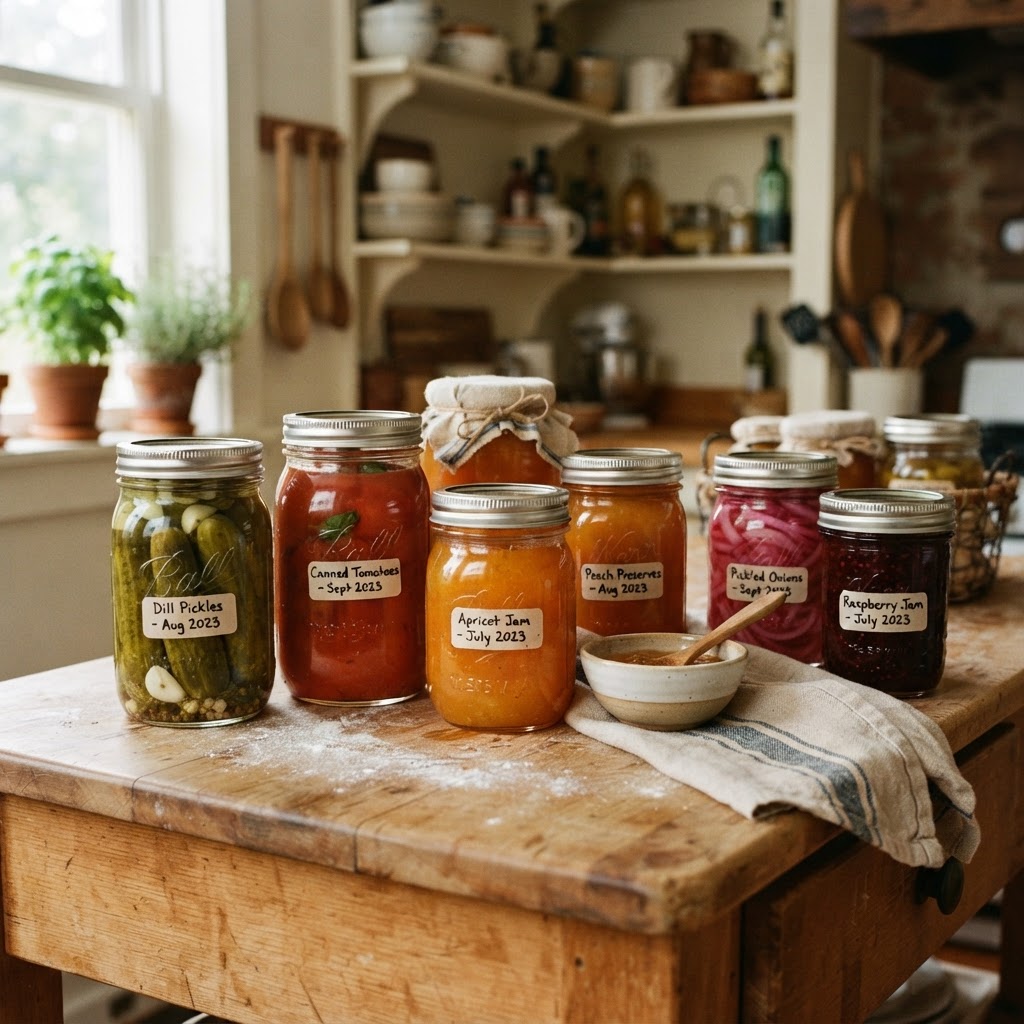
Choosing a Preservation Method
A simple look at when I might can, freeze, dehydrate, ferment, or store something another way.
Start Here →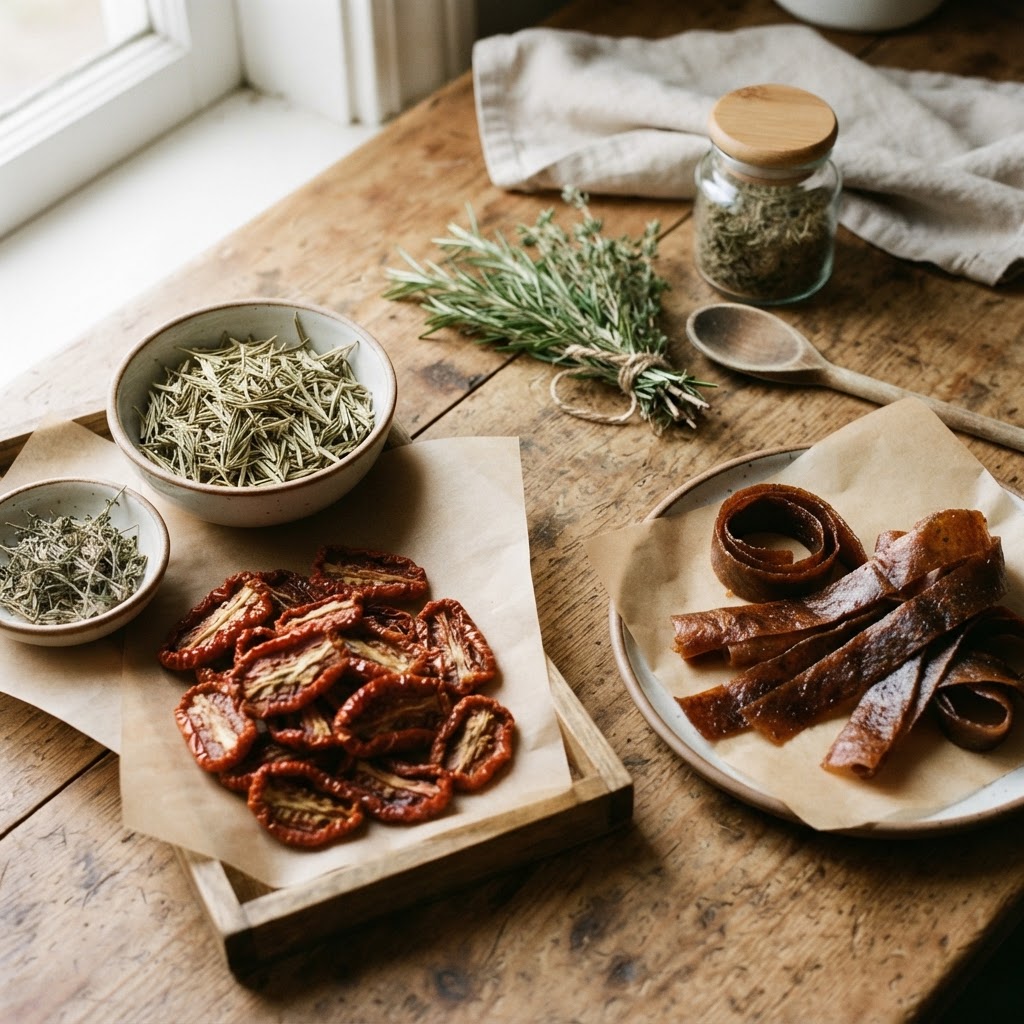
Dehydrating & Drying
Simple ways I’m learning to dry herbs, produce, and other foods for longer storage.
Explore Drying →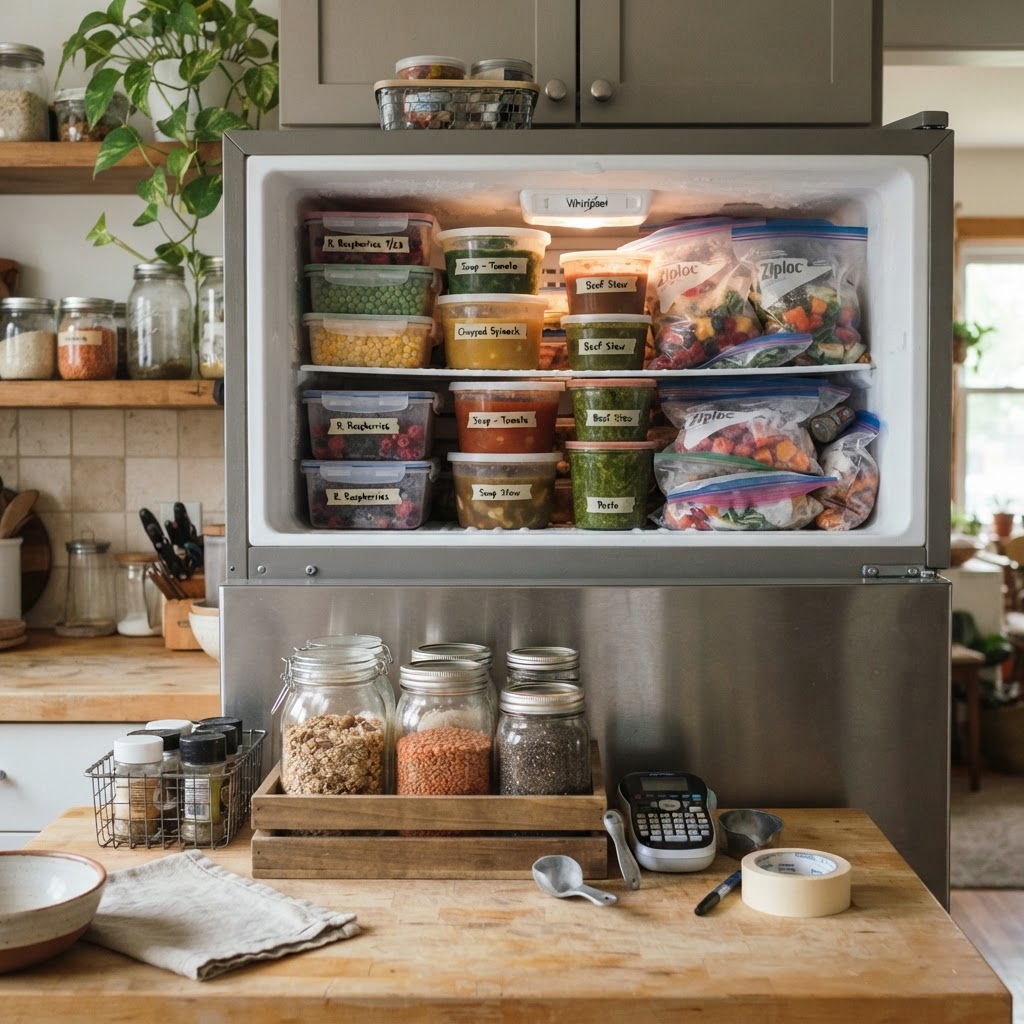
Freezing & Other Simple Storage
The easiest ways I use the freezer and basic storage methods when I don’t need a more involved preservation process.
See the Basics →The Mason Genie
A simple vacuum sealer for mason jars that I use for everyday storage. One of my favorite preserving tools.
Learn More →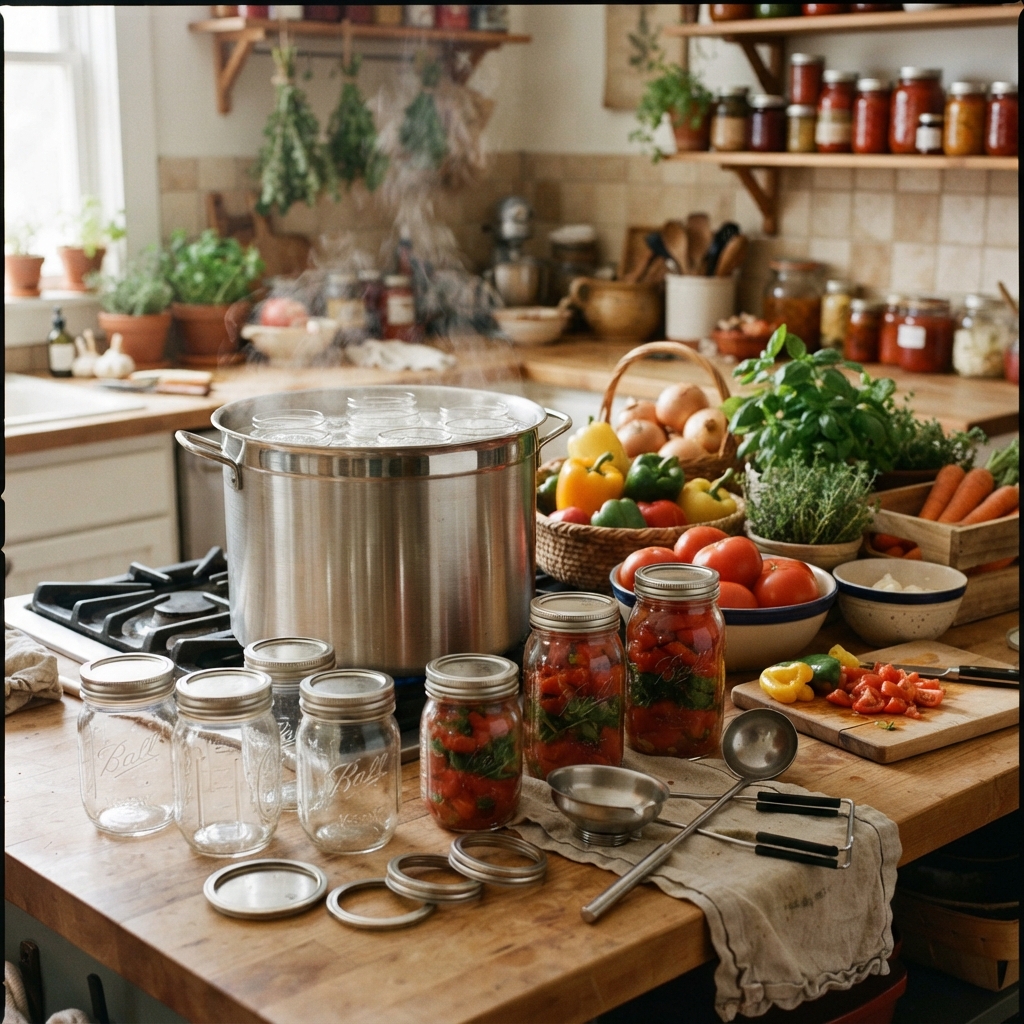
Canning Basics
What I’m learning about jars, equipment, safe methods, and getting started with home canning.
Explore Canning →Preserving
Getting Started Preserving Food at Home
I’m still learning which preservation methods make sense for different foods and which ones are actually worth the effort at home. If you’re starting from scratch too, here’s where I’d begin.
Choosing a Preservation Method
There’s no single “best” way to preserve food. It depends on what you’re preserving, how much of it you have, how long you want it to last, and how much time and effort you want to put in.
When I’m deciding what to do with something, I think about it like this:
Freezing
Easiest and fastest. Good for most things, but takes freezer space and texture can change.
Dehydrating
Great for herbs, fruit, and things you want shelf-stable. Takes time but little effort.
Canning
More involved, but gives you shelf-stable jars. Worth learning, but I’d start with simpler methods first.
Fermenting
Unique flavors and a different process entirely. Fun to experiment with once you’re comfortable.
My advice: start with the easiest method for whatever you have. Freezing a bag of tomatoes takes two minutes. Canning them takes a whole afternoon. Both are worth doing, but don’t make canning your first preserving project unless you’re genuinely excited about it.
Dehydrating & Drying
Dehydrating is one of the easiest preservation methods to start with. You don’t need much equipment, and it’s surprisingly satisfying to turn a pile of herbs or fruit into something that lasts for months.
Here’s how I approach it:
- · For herbs: I tie them in small bundles and hang them in a dry, well-ventilated spot. No equipment needed.
- · For fruit and vegetables: a dehydrator makes this much easier and more consistent. Air drying works but takes longer and depends on humidity.
- · Store dried things in airtight jars, away from light. They last a long time if kept dry.
- · Label everything. Dried herbs all look the same after a while.
I started with herbs because they were free — I was already growing them. Drying a bundle of rosemary or oregano and putting it in a jar feels like a small win, and it’s a good first step before investing in a dehydrator.
Freezing & Other Simple Storage
Freezing is where I’d tell anyone to start. It’s the simplest, fastest, and most forgiving preservation method. If you have freezer space, it’s hard to beat.
A few things I’ve learned:
- · Freeze things in portions you’ll actually use. A giant block of frozen tomatoes is hard to deal with later.
- · Label and date everything. You will not remember what’s in that bag.
- · Some things freeze beautifully (tomatoes, berries, herbs in oil). Some don’t (cucumbers, leafy salads).
- · Freezer bags work fine. Vacuum sealing is better if you do a lot of it.
Beyond the freezer, simple storage matters too. A cool, dark pantry keeps onions, garlic, and winter squash for months. Root vegetables keep well in a cool spot. Sometimes “preserving” just means storing things properly — you don’t always need a process.
If you’re brand new to preserving, grab something from your kitchen right now, portion it, label it, and put it in the freezer. That’s your first preserving project. You’re already doing it.
The Mason Genie
One of my favorite preserving tools isn’t a canning pot or a dehydrator — it’s the Mason Genie. It’s a simple vacuum sealer designed for mason jars, and it changed how I store things.
Here’s why I like it:
- · It pulls the air out of a mason jar using a handheld vacuum pump and a special lid.
- · Less air means things stay fresher longer — dried herbs, dehydrated fruit, even leftovers.
- · It’s small, simple, and doesn’t take up much space.
- · The lids are reusable, so once you have them you just keep using the same jars.
I use it mostly for dry goods — dried herbs from the garden, dehydrated fruit, nuts, and things I want to keep on the shelf without them going stale. It’s not a replacement for canning, but for everyday storage it’s one of the most useful tools I’ve added to my kitchen.
If you’re just getting started with preserving and want something that feels like a quick win, this is a good one. Vacuum-seal a jar of dried oregano and you’re preserving. Simple as that.
Canning Basics
Canning is the one I was most intimidated by, and honestly, it deserves respect. Done correctly it’s safe and rewarding. Done carelessly it can be genuinely dangerous. So I’m learning it carefully.
Here’s what I’ve learned so far:
- · There are two main methods: water bath canning and pressure canning. They are not interchangeable.
- · Water bath canning is for high-acid foods — jams, jellies, pickles, most fruits. This is where I started.
- · Pressure canning is required for low-acid foods — most vegetables, meats, soups. Don’t skip this.
- · Use tested recipes from reliable sources. This is not the place to improvise.
- · Mason jars, new lids, a canning pot, a jar lifter, and a funnel are the basic setup.
I’m not going to walk you through a canning recipe here. Find a tested recipe from a source you trust, follow it exactly, and start with something simple like a jam or a quick pickle. The first time you hear the lids pop sealed is genuinely satisfying.
My Preserving Setup
I’m keeping this pretty simple and building my setup as I go. These are some of the basic things I use for canning, drying, freezing, storing, and experimenting with different ways to keep food longer.
Jars & Containers
- Mason jars
- Lids and rings
- Freezer-safe containers
- Glass storage jars
Canning Basics
- Canning pot
- Jar lifter
- Funnel
- Basic canning tools
Dehydrating & Drying
- Dehydrator
- Drying racks
- Storage jars
- Labels
Freezer & Storage
- Freezer containers
- Bags
- Vacuum storage
- Labels and dates
Know When Jarred Goods Are Ready
I preserve in small batches — jams, ferments, dried things, whatever the garden gives me. They sell out. If you want to know when something’s ready before it’s gone, put your email here.
No spam. Just a heads up when I’ve made something you can buy.